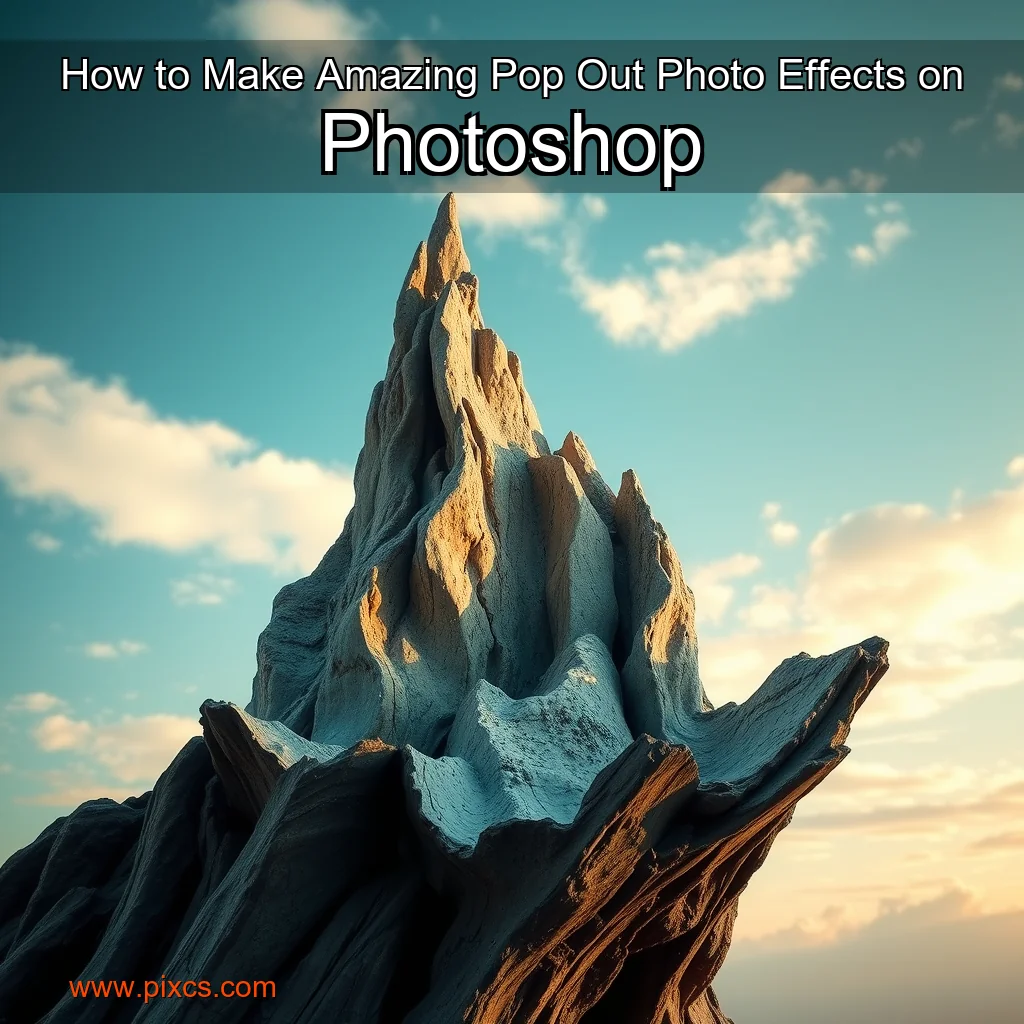
The Pop-Out Effect: Bringing Images to Life
The pop-out effect is a creative technique that can be used to add depth and visual interest to your digital images. It’s a simple yet effective way to make your photos stand out and create a sense of drama.
Understanding the Pop-Out Effect
The pop-out effect is achieved by using a combination of image editing software and creative techniques. The goal is to create a sense of depth and dimensionality in the image, making it appear as if objects are jumping out from the screen. Layering: One of the key techniques used to create the pop-out effect is layering. This involves creating multiple layers of images and adjusting their opacity and position to create a sense of depth. Blending modes: Blending modes are another essential tool for creating the pop-out effect. By using different blending modes, you can combine images in unique and creative ways, adding to the sense of depth and dimensionality. * Masking: Masking is a technique used to isolate specific areas of an image and apply effects to them. This can be used to create a sense of depth and dimensionality by isolating objects or areas of the image.**
Creating the Pop-Out Effect
To create the pop-out effect, you’ll need to use a combination of image editing software and creative techniques.
Introduction
The world of digital art has undergone significant transformations in recent years, with the advent of powerful software tools and innovative techniques. One such tool that has revolutionized the way artists create and edit images is Adobe Photoshop.
Creating Effective Pop-Outs
Pop-outs are a powerful visual storytelling tool that can elevate your content and capture the viewer’s attention. To create effective pop-outs, consider the following key elements:
Tips for Creating Effective Pop-Outs
Here are some additional tips for creating effective pop-outs:
A solid color adjustment layer can be created by going to Layer > New Adjustment Layer > Solid Color.
The Art of Creating a Pop-out Effect
Creating a pop-out effect in graphic design can be a powerful tool to draw attention to specific elements within an image.
Understanding Clipping Masks
A clipping mask is a powerful tool in Adobe Photoshop that allows you to combine multiple layers into a single layer, while maintaining the individual elements’ transparency and blending modes. In the context of creating a pop-out image, a clipping mask is essential for achieving a seamless blend between the subject and the background.
How Clipping Masks Work
A clipping mask works by confining the subject to the shape of the layer below it. This means that the subject will only be visible within the boundaries of the layer, and any areas outside of the layer will be clipped or hidden.
This will create a clipping mask that will allow you to cut out the subject from the background. You can then use the Pen tool to refine the edges of the subject and create a more defined shape.
Step 5: Cut Out the Pop-out Subject
Refining the Clipping Mask
Once you’ve created the clipping mask, you can refine the edges of the subject using the Pen tool.
Introduction
The art of creating stunning visual effects in photography is a complex and nuanced process. One of the most effective techniques for adding depth and dimension to an image is by using layer masks.
The more you practice, the more you’ll develop your skills and confidence in your ability to create visually appealing images.
Introduction
The world of photography is a vast and exciting realm, full of endless possibilities and creative opportunities. As a photographer, you have the power to capture the world around you and share it with others in a unique and captivating way. Whether you’re a seasoned pro or just starting out, the art of photography is a journey that requires patience, practice, and dedication.
Understanding the Basics
To get started with photography, it’s essential to understand the basics of the craft. This includes knowing your camera settings, understanding exposure, and learning about composition. Here are some key concepts to get you started:
news is a contributor at Pixcs. We are committed to providing well-researched, accurate, and valuable content to our readers.